
-
By:
- cierra
- No comment
mira flight level shower tray installation instructions
The Mira Flight Level Shower Tray installation requires careful preparation‚ ensuring a stable and level base‚ and proper sealing for a durable and leak-free bathroom solution.
Overview of the Mira Flight Level Shower Tray
The Mira Flight Level Shower Tray is a high-quality‚ low-profile showering solution designed for modern bathrooms. Available in square‚ rectangular‚ and quadrant shapes‚ it offers versatility to suit various bathroom layouts. Its sleek design and anti-slip surface ensure safety and comfort. Constructed from durable materials‚ it is built to withstand heavy use while maintaining a stylish appearance. The tray is compatible with Mira’s waste systems and is designed for easy integration with bathroom drainage setups.
Importance of Proper Installation
Proper installation of the Mira Flight Level Shower Tray is crucial to ensure a leak-free‚ stable‚ and safe showering experience. Incorrect installation can lead to water damage‚ uneven surfaces‚ and safety hazards. A well-installed tray prevents water seepage‚ maintains bathroom hygiene‚ and meets safety standards. It also protects the product warranty and ensures long-term durability. Proper installation guarantees a professional finish and enhances the overall functionality of the shower area.
Tools and Materials Needed for Installation
Essential tools include a spirit level‚ drill‚ screwdriver‚ and silicone sealant. Materials required are sand‚ cement‚ and a waste kit for a secure and proper installation.
Essential Tools
A spirit level ensures the tray is perfectly horizontal‚ while a drill and screwdriver secure it to the floor. Silicone sealant‚ a trowel‚ and a wrench are also necessary for proper installation.
Recommended Materials
Use a bed of sand and cement or silicone sealant for the tray’s foundation. Apply tile adhesive and grout for surrounding tiles. Ensure silicone sealant is compatible with your bathroom’s materials for a watertight seal.
Pre-Installation Checks
Inspect the tray for damage‚ color accuracy‚ and size compatibility. Ensure it is flat and compatible with your bathroom layout and fixtures before proceeding.
Inspecting the Shower Tray for Damage
Before installation‚ carefully inspect the shower tray for any signs of transit damage‚ such as cracks or dents. Ensure the color matches your bathroom aesthetic and verify the size for compatibility. Remove protective film and check for scratches or imperfections. Confirm the tray is flat and even‚ as any warping could affect installation. If damage is found‚ contact your supplier immediately to avoid installation delays or issues.
Ensuring Compatibility with Bathroom Layout
Verify the shower tray’s dimensions match your bathroom space‚ ensuring proper fit and clearance. Position the tray to align with existing plumbing and walls‚ avoiding obstructions. Check that the tray’s style complements other bathroom fixtures and layout. Ensure the tray’s shape‚ whether square‚ rectangular‚ or quadrant‚ fits seamlessly into the intended area. Confirm compatibility with the shower enclosure and surrounding features to achieve a cohesive design and functional bathroom setup.

Site Preparation
Clear the area‚ ensuring it’s free from obstructions. Unpack and inspect the tray for damage. Position it carefully to align with the bathroom layout and existing fixtures.
Clearing the Installation Area
Move any fixtures or obstructions from the installation zone. Protect the floor with a dust sheet or old sheets to prevent damage. Remove debris and ensure the area is clean. Inspect the space for any damage or unevenness that could affect installation. Verify that the area is large enough to accommodate the shower tray comfortably. Ensure the floor is dry and free from moisture before proceeding.
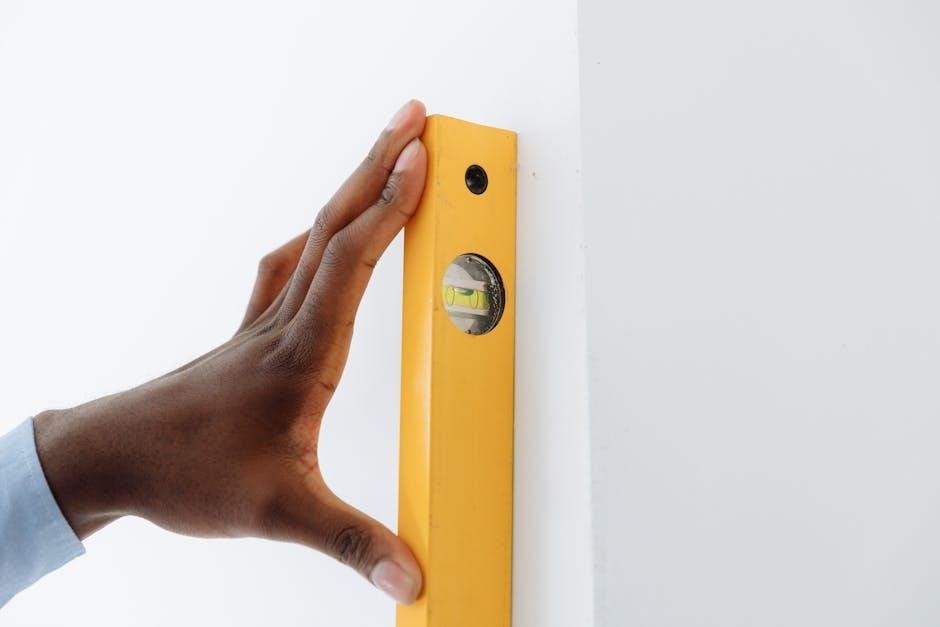
Ensuring the Floor is Level and Stable
Use a spirit level to check the floor’s evenness. Address any unevenness with sand and cement or self-leveling compound. Ensure the floor is stable and free from movement. Allow any corrections to dry completely before proceeding. A level base is critical for proper tray installation and long-term performance; Use appropriate tools to verify stability and make adjustments as needed for a secure fit.
Positioning the Shower Tray
Place the shower tray in the desired location‚ ensuring it fits perfectly within the bathroom layout. Use the tray legs to adjust positioning and confirm alignment.
Aligning the Tray with the Bathroom Layout
Ensure the Mira Flight Level Shower Tray is positioned to align with the bathroom layout‚ checking for proper fit and clearance. Verify the tray is flat and level‚ ensuring compatibility with surrounding features like walls or enclosures. Proper alignment is crucial for a stable installation and to prevent future adjustments. Always refer to the manufacturer’s instructions for precise measurements and positioning guidelines to achieve a seamless fit within the bathroom space.
Ensuring Proper Clearance
Proper clearance around the Mira Flight Level Shower Tray is essential for a safe and functional installation. Ensure there is adequate space on all sides for easy access and to accommodate future maintenance. Measure the bathroom layout carefully to confirm the tray fits without obstructing nearby fixtures or plumbing. Proper clearance also ensures the tray sits evenly and prevents potential issues with drainage or leveling.
Always verify the manufacturer’s recommended clearance guidelines to maintain warranty validity and ensure compliance with installation standards.
Waste Assembly Installation
Fitting the waste system involves assembling the trap and connecting it securely to the shower tray. Apply silicone sealant around the drain for a watertight seal.
Fitting the Waste System
The waste system must be carefully fitted by attaching the trap to the shower tray according to the manufacturer’s instructions. Ensure the waste outlet aligns perfectly with the drain hole in the tray. Secure the trap using the provided fittings and apply silicone sealant around the drain to create a watertight seal. Double-check all connections for leaks and ensure the system is level and properly aligned before proceeding.
Securing the Waste Trap
Secure the waste trap by tightening the provided fittings firmly to the shower tray. Ensure the trap is correctly aligned with the waste outlet and apply silicone sealant around the connection for a watertight seal. Double-check the alignment and tighten all connections to prevent leaks. Regular inspections are recommended to maintain the integrity of the waste system and ensure long-term reliability.

Leveling the Shower Tray
Use a spirit level to ensure the shower tray is perfectly horizontal and stable. Adjust the tray legs as needed to achieve even balance and proper alignment.
Using Spirit Levels for Accuracy
Place a spirit level on the shower tray to ensure it is perfectly horizontal. Check both lengthwise and widthwise directions. Adjust the tray legs gently until the bubble aligns centered‚ indicating even balance. Repeat the process to confirm accuracy. Proper leveling prevents water pooling and ensures stability‚ essential for a reliable and long-lasting installation.
Adjusting the Tray Legs
Turn the tray legs clockwise to lower or counterclockwise to raise the shower tray. Use a spirit level to ensure the tray is perfectly horizontal. Adjust each leg gradually‚ checking both lengthwise and widthwise directions. Avoid over-tightening to prevent cracking the tray. Ensure the tray is stable and even before proceeding with securing it to the floor or applying sealant.

Securing the Shower Tray
Position the tray correctly‚ ensuring it is level and stable. Use screws to fix the tray legs firmly to the floor. Apply silicone sealant around the edges for a watertight seal‚ ensuring no gaps remain. Double-check all connections and ensure the tray is securely fastened before proceeding to the next steps.
Fixing the Tray to the Floor
Position the shower tray in its final location‚ ensuring it is level and stable. Secure the tray legs to the floor using the provided screws‚ tightening evenly to avoid warping. Apply silicone sealant around the edges for a watertight seal. Ensure all connections are tight and the tray is firmly attached to the floor. Follow the manufacturer’s instructions for torque settings to prevent damage. Double-check the alignment before final tightening.
Applying Silicone Sealant
Apply a continuous bead of silicone sealant around the edges of the shower tray‚ ensuring complete coverage where the tray meets the floor and walls. Smooth the sealant with a damp finger or tool for a neat finish. Allow the sealant to cure fully‚ following the manufacturer’s instructions‚ typically 24 hours‚ before exposing it to water. This ensures a watertight seal and prevents leaks.
Final Checks and Sealing
Conduct a final inspection to ensure the tray is level and stable. Apply silicone sealant around edges and let it cure as instructed.
Testing for Levelness and Stability
Use a spirit level to ensure the shower tray is perfectly horizontal and stable. Check both lengthwise and widthwise directions‚ ensuring no unevenness. Test all four corners for balance and adjust the tray legs if necessary. Verify that the tray does not rock or wobble‚ as this could lead to leaks or instability. Once satisfied‚ proceed to secure the tray firmly in place.
Sealing Gaps with Silicone
Apply silicone sealant around the edges of the shower tray‚ ensuring a watertight seal between the tray and the surrounding surfaces. Follow the manufacturer’s instructions for application and drying times. Allow the sealant to cure fully‚ typically 24 hours‚ before exposing it to water. This step ensures long-lasting protection against leaks and maintains the integrity of the shower area.

Connecting the Waste System
Connect the waste system to the shower tray by following the manufacturer’s instructions. Ensure all pipes and fittings are securely linked to prevent leaks and proper drainage.
Linking the Waste to Plumbing
Link the waste system to the plumbing by following the manufacturer’s guide. Connect the waste trap to the plumbing system‚ ensuring all fittings are secure. Use the provided adapters and seals to create a leak-proof connection. Tighten all connections gently but firmly to avoid damage. Test the system by running water to ensure proper flow and no leaks. Ensure compliance with local plumbing regulations for a safe and functional installation.
Ensuring Leak-Proof Connections
To ensure leak-proof connections‚ apply silicone sealant around the waste trap and plumbing fittings. Tighten all connections gently but firmly‚ following the manufacturer’s guidelines. Inspect each joint for any gaps or weaknesses. Use additional sealing if necessary to guarantee watertight integrity. Test the system by running water to confirm no leaks are present. Proper sealing ensures long-term durability and prevents water damage behind the shower tray.

Tiling and Finishing Touches
Prepare the area by applying tiles around the shower tray using suitable adhesive and grout. Ensure edges are sealed with silicone sealant for a neat‚ waterproof finish.
Preparing the Area for Tiling
Clean the area around the shower tray thoroughly. Ensure it is properly positioned and level. Apply silicone sealant around the edges and corners to create a watertight bond. Allow the sealant to dry completely according to the manufacturer’s instructions. This step ensures a secure base for tiling‚ preventing leaks and ensuring durability.
Applying Tiles Around the Shower Tray
Measure and mark tiles to fit snugly around the shower tray. Apply tile adhesive to the back of the tiles and the wall. Press tiles firmly into place‚ ensuring they align with the tray’s edges. Allow the adhesive to set before grouting. Wipe away excess grout and seal it once dry for a polished finish. This ensures a seamless and watertight integration between the tiles and the shower tray.
Maintenance and Care
Regularly clean the shower tray with mild detergents to prevent soap scum buildup. Inspect seals and the waste system for wear or blockages to ensure optimal performance.
Cleaning the Shower Tray
Use mild detergents and soft cloths to clean the Mira Flight Level Shower Tray‚ avoiding abrasive cleaners that may scratch the surface. Rinse thoroughly and dry the tray after cleaning to maintain its slip-resistant properties. Regular cleaning prevents soap scum buildup and ensures the tray remains hygienic. For tougher stains‚ a gentle scrubber can be used‚ but avoid harsh chemicals. Always ensure the tray is dry to maintain slip resistance.
Regular Inspection of Seals and Waste
Regularly inspect the seals around the shower tray and waste system for wear and tear. Ensure all connections are watertight to prevent leaks. Clean the waste trap periodically to maintain proper drainage. Check for mineral buildup or debris that may cause blockages. Replace any worn-out seals or components promptly to maintain the integrity of the shower tray and prevent water damage. Regular inspections help uphold hygiene and functionality.